Teaching GPU programming in p5.js: now with compute shaders
Computer graphics education is in a weird place right now. The graphical capabilities of computers have expanded tremendously. At this point, it's also hard to talk about "graphical" capabilities: your Graphics Processing Unit (GPU) is no longer just pushing triangles onto the screen; it's a platform for general parallel programming. That's fantastic for increasing the possibilities! But with so much potentially to learn, how do you get started?
There is a lot of background context generally required in order to do any programming for the GPU, which makes it notoriously hard to get into. Rendering a triangle in Vulkan from scratch takes thousands of lines of code. This is a problem professors teaching computer graphics are currently grappling with. The playbook that seems to be solidifying is to not teach everything at first, and provide a template to work within that hides the bits that aren't initially relevant to the learning. As students learn more, the scaffolding can incrementally be pulled away, and they can become aware of those initially hidden parts. But, importantly, those hidden bits are not necessary for making immediate initial progress. This technique is called scaffolded learning.
Currently, everyone's wandering on their own trying to figure out what scaffolding to use. Often, scaffolding abstracts away many of the underlying graphics API, but leaves in place much of the "classic" shader pipeline: students still need to learn how data flows through vertex to fragment shaders, how data is passed from the CPU to the GPU, and how to write shader code in a new language. While this is still simplified compared to starting completely from scratch, that's still a lot to jump into.
Teaching GPU with p5.js
I help develop p5.js. Alongside being a tool for artists, it is often used as a computer science teaching tool, conveniently making it easy to visualize logic. That has mostly been done with its 2D mode, so introductory 3D and GPU teaching has tended to favour tools like three.js instead. Over the past few years, I've been trying to fill in the GPU gaps in p5.
After releasing an experimental WebGPU build of p5.js earlier this year, working a little on performance, and fixing a lot of bugs, I've been able to start implementing compute shaders. That last puzzle piece brings p5 much closer to the goal of being the GPU learning system I'd like it to be. So let's talk about what that looks like!
The emerging goal for p5.strands, our shader system, is to provide scaffolding such that if you have made a p5.js sketch before and are familiar with, for example, the Introduction to p5.js category of tutorials on the p5 site, you should be able to have an easy first step into GPU programming. You should always be able to be productive and make interesting things at every skill level, and each incremental piece you learn helps you achieve a specific new capability on top of what you already could do. While abstractions can be simplifying, none should be misleading; you should not need to unlearn any bad habits in order to later jump from p5 to more engineering-oriented systems. That said, p5 should not just be a learning tool: the abstractions should be convenient and intuitive enough that you'd want to use them, regardless of skill level, until your project hits a scale and scope that turns it into a larger engineering project.
We're pretty explicit about what we think you do and don't need to know to start using p5.strands:
- You are familiar with looping and branching
- You can make and update variables
- You can call functions
- You can create named global functions, similar to the standard setup and draw in p5
- You can do some math in JavaScript
The API has been carefully updated so that you don't need more than that to start. You do not need to know about the shader pipeline, uniforms, varying variables, or anything like that at first. You will still learn those things! But they are not required upfront like they would otherwise be; they stay out of the way until you need them.
Making your own filter
After having used existing p5 filters such as filter(BLUR), it is not a huge jump to create your own filters. It involves creating a function, using arrays, and working with properties and methods of objects. The biggest thing to learn is the special filterColor object, which you can .set() with a color. Here's a filter that makes the canvas red! Nothing fancy yet, but you can see that colors go from 0 to 1.
function setup() {
  createCanvas(200, 200, WEBGL);
  let myFilter = buildFilterShader(gradient);
  filter(myFilter);
}

function gradient() {
  filterColor.begin();
  filterColor.set([1, 0, 0, 1]);
  filterColor.end();
}
filterColor also has a property texCoord saying what coordinate of the canvas texture you're on. That conveniently also goes from 0 to 1 in both axes, so you can visualize it as a color easily. The resulting gradient is illustrative of how the function gets run on each pixel with different inputs.
function setup() {
  createCanvas(200, 200, WEBGL);
  let myFilter = buildFilterShader(gradient);
  filter(myFilter);
}

function gradient() {
  filterColor.begin();
  filterColor.set([
    filterColor.texCoord.x,
    filterColor.texCoord.y,
    0,
    1
  ]);
  filterColor.end();
}
You can explore generative textures by passing those coordinates into noise(). Of course, you can also make your own noise function if you'd like to learn what it's doing under the hood. But it's a useful and productive construct that is already familiar from the rest of p5.
function setup() {
  createCanvas(200, 200, WEBGL);
  let myFilter = buildFilterShader(gradient);
  filter(myFilter);
}

function gradient() {
  filterColor.begin();
  let val = noise(filterColor.texCoord);
  filterColor.set([val, val, val, 1]);
  filterColor.end();
}
You can even create animations by using p5.js time functions like millis() like you normally would. For people who already know shaders: under the hood, this involves some uniforms, but the learner does not need to be aware of this yet. They can instead focus on the biggest conceptual leap of writing a fragment shader, which is the fact that your same code needs to run on every pixel. This inversion from the usual way you draw in p5 can be the main focus, with surprisingly few limitations, until the learner feels comfortable.
let myFilter;
function setup() {
  createCanvas(200, 200, WEBGL);
  myFilter = buildFilterShader(gradient);
}

function gradient() {
  filterColor.begin();
  filterColor.set(mix(
    [1, 0, 0, 1], // Red
    [0, 0, 1, 1], // Blue
    sin(filterColor.texCoord.x*15 + millis()*0.004)/2+0.5
  ));
  filterColor.end();
}

function draw() {
  filter(myFilter);
}
A natural point to introduce uniforms is when you want to reference a value from a slider. With uniformFloat, we can pass in a slider value and then use that to adjust the animation from before:
let myFilter;
let frequency;
function setup() {
  createCanvas(200, 200, WEBGL);
  frequency = createSlider(1, 100, 30, 0.1);
  myFilter = buildFilterShader(gradient);
}

function gradient() {
  // Pass in slider value
  let xScale = uniformFloat(() => frequency.value());
  filterColor.begin();
  filterColor.set(mix(
    [1, 0, 0, 1], // Red
    [0, 0, 1, 1], // Blue
    sin(filterColor.texCoord.x*xScale + millis()*0.004)/2+0.5
  ));
  filterColor.end();
}

function draw() {
  filter(myFilter);
}
Shaders for shapes
A next step can be to show how shaders can be used on objects, not just on the pixels of the whole canvas. Every vertex (a term familiar already from beginShape/endShape drawing) also can be modified by a shader, if you do so in the right block. In p5.strands, the way to do this is the worldInputs block, where you can modify vertex positions in world space. This can be used to move an object around:
let movement;
function setup() {
  createCanvas(200, 200, WEBGL);
  movement = buildMaterialShader(wiggle);
}

function wiggle() {
  worldInputs.begin();
  worldInputs.position.y += 40 * sin(millis() * 0.005);
  worldInputs.end();
}

function drawObject() {
  sphere(50);
}

function draw() {
  background('white');
  noStroke();
  lights();
  fill('red');
  shader(movement);
  drawObject();
}
Of course, you don't need a shader to do the above in p5 already. But it then lets you do some additional things. For example, you can apply a different offset to each vertex. You could do this with a for loop and beginShape/endShape, but it's very tedious to do, and requires you to suddenly create all the vertices yourself. Here, I can just take the previous shader but use the vertex position in the math:
let movement;
function setup() {
  createCanvas(200, 200, WEBGL);
  movement = buildMaterialShader(wiggle);
}

function wiggle() {
  worldInputs.begin();
  worldInputs.position.y += 40 * sin(
    millis() * 0.005 + worldInputs.position.x * 0.1
  );
  worldInputs.end();
}

function drawObject() {
  sphere(50);
}

function draw() {
  background('white');
  noStroke();
  lights();
  fill('red');
  shader(movement);
  drawObject();
}
When you introduce the ability to draw an object with multiple instances, updating positions in a shader becomes extra useful.
If you're already drawing an object with a function, as I did above, you can create a reusable model out of it with buildGeometry. Then, you can draw it with model(geometry, count), and pass in the number of instances of that model you want to draw. You can then position them differently in the shader based on which iteration is being drawn, accessible via instanceID().
let movement;
let instance;
function setup() {
  createCanvas(200, 200, WEBGL);
  movement = buildMaterialShader(wiggle);
  instance = buildGeometry(drawObject);
}

function wiggle() {
  worldInputs.begin();
  worldInputs.position.x += instanceID() * 30 - 90;
  worldInputs.position.y += 40 * sin(millis() * 0.005 + instanceID());
  worldInputs.end();
}

function drawObject() {
  sphere(10);
}

function draw() {
  background('white');
  noStroke();
  lights();
  fill('red');
  shader(movement);
  model(instance, 7);
}
You can already do a lot with this! If you need to move things along prescribed paths, this will work just fine, and you can draw a lot more copies than you would be able to do with a for loop before it starts to lag. Here's an example of drawing a ton of lines with slightly different colors at slightly different positions to create the effect of light dispersion.
let movement;
let instance;
function setup() {
  createCanvas(200, 200, WEBGL);
  movement = buildStrokeShader(wiggle);
  instance = buildGeometry(drawLine);
}

function wiggle() {
  worldInputs.begin();
  let progress = instanceID() / 50;
  noiseDetail(3, 0.2);
  let offset = noise(
    worldInputs.position.x / width,
    millis() * 0.0001,
    progress * 0.075
  ) - 0.3;
  worldInputs.position.y += offset * height * 0.8;

  let r = [1, 0, 0, 1/15];
  let g = [0, 1, 0, 1/15];
  let b = [0, 0, 1, 1/15];
  if (progress < 0.5) {
    worldInputs.color = mix(r, g, progress * 2);
  } else {
    worldInputs.color = mix(g, b, (progress - 0.5) * 2);
  }
  worldInputs.end();
}

function drawLine() {
  noFill();
  beginShape();
  const n = 400;
  for (let i = 0; i <= n; i++) {
    vertex(
      map(i, 0, n, -width/2, width/2),
      0
    );
  }
  endShape();
}

function draw() {
  background('black');
  blendMode(ADD);
  strokeShader(movement);
  strokeWeight(5);
  model(instance, 50);
}
But not every kind of motion can be driven by noise() or sin() or other predetermined functions. What if I have a bunch of specific locations I want to position points at? Or if each particle needs to move independently? See, for example, the Nature of Code chapter on autonomous agents. Lots of cool techniques in there!
WebGPU shader storage
WebGPU starts to get us there. The examples from here on out will require you to use a browser with WebGPU support, which Chrome and Firefox on Windows and Mac should have now in their latest versions.
We can create storage buffers with createStorage that you can read in a shader with uniformStorage. Here's a simple version of that where we hard-code a few locations for objects. Note that we await createCanvas(w, h, WEBGPU) now!
let particles;
let particlesShader;
let instance;
async function setup() {
  await createCanvas(200, 200, WEBGPU);
  particles = createStorage([
    { position: createVector(-50, -20, 0) },
    { position: createVector(10, -80, 0) },
    { position: createVector(50, 50, 0) }
  ]);
  particlesShader = buildMaterialShader(drawParticles);
  instance = buildGeometry(drawInstance);
}

function drawParticles() {
  const data = uniformStorage(particles);

  worldInputs.begin();
  worldInputs.position += data[instanceID()].position;
  worldInputs.end();
}

function drawInstance() {
  sphere(10);
}

function draw() {
  background('white');
  noStroke();
  lights();
  fill('red');
  shader(particlesShader);
  model(instance, 3);
}
Ok, three hardcoded positions for spheres isn't that exciting. Here's what that looks like with more complicated position data that I'm extracting from an SVG:
let path = document.createElementNS('http://www.w3.org/2000/svg', 'path');
path.setAttribute('d', 'M121.073 1.76484C117.871 6.56818 114.669 11.3715 98.4089 41.265C82.1491 ' +
  '71.1585 52.9288 125.997 36.6751 155.848C20.4214 185.699 18.0197 188.901 15.3815 190.35C12.7433 ' +
  '191.8 9.94135 191.4 7.69737 188.191C-4.30202 171.035 3.0032 155.836 5.41699 151.796C6.59617 149.823 ' +
  '9.4319 149.358 13.4711 151.948C43.1631 170.985 73.6462 198.216 103.97 201.109C121.551 202.787 136.356 ' +
  '176.553 151.488 146.35C185.562 78.3399 173.231 55.1838 170.216 38.4267C167.181 21.5516 148.68 11.5413 ' +
  '130.231 3.40235C123.501 0.433284 117.458 0.55188 112.819 1.95285C101.471 5.37957 103.291 22.7249 104.286 ' +
  '38.2993C105.373 55.3322 125.876 74.0817 143.846 91.0572C163.901 110.002 197.854 123.838 235.128 ' +
  '141.795C252.073 149.959 265.379 144.106 271.638 139.873C274.512 137.929 275.896 135.239 277.121 ' +
  '132.801C278.346 130.363 279.147 127.962 277.758 125.724C266.199 107.098 221.046 122.236 204.816 ' +
  '131.309C191.395 138.812 195.064 162.628 198.879 172.356C205.845 190.12 243.898 175.243 259.897 ' +
  '166.77C270.368 161.225 274.707 152.197 275.92 146.957C277.286 141.058 276.733 135.215 276.939 ' +
  '132.977C278.003 121.426 275.92 158.213 278.934 163.053C282.934 169.475 290.864 170.767 295.703 ' +
  '171.173C307.042 172.125 316.336 158.286 323.608 148.376C329.033 140.982 330.103 132.789 331.51 ' +
  '130.551C337.724 120.668 345.835 154.938 351.718 165.278C353.029 167.582 354.738 169.518 356.764 ' +
  '170.148C358.79 170.779 361.191 169.979 363.429 167.765C373.367 157.935 376.984 145.768 382.449 ' +
  '135.227C383.666 132.879 383.874 130.388 386.282 129.551C401.763 124.169 426.594 140.407 445.48 ' +
  '143.475C467.712 147.088 493.768 132.401 505.752 124.104C508.133 122.457 508.397 119.471 508.209 ' +
  '117.033C507.822 112.013 501.98 107.717 495.121 104.485C484.621 99.5364 474.094 102.829 463.371 ' +
  '106.468C457.9 108.325 454.25 113.734 451.424 119.98C448.242 127.012 449.374 133.954 452.388 ' +
  '139.594C460.953 155.62 486.83 159.013 506.941 160.263C525.293 156.636 548.412 152.184 553.658 ' +
  '149.564C556.103 148.145 558.104 146.544 562.592 142.469');

let particles;
let particlesShader;
let instance;
let count = 100;
async function setup() {
  await createCanvas(200, 200, WEBGPU);
  let particleData = [];
  for (let i = 0; i < count; i++) {
    const pt = path.getPointAtLength((i/count) * path.getTotalLength());
    particleData.push({
      position: createVector(
        map(pt.x, 0, 560, -90, 90),
        map(pt.y, 0, 200, -40, 40),
        0
      )
    });
  }
  particles = createStorage(particleData);
  particlesShader = buildMaterialShader(drawParticles);
  instance = buildGeometry(drawInstance);
}

function drawParticles() {
  const data = uniformStorage(particles);

  worldInputs.begin();
  worldInputs.position += data[instanceID()].position;
  worldInputs.end();
}

function drawInstance() {
  sphere(2);
}

function draw() {
  background('white');
  noStroke();
  lights();
  fill('red');
  shader(particlesShader);
  model(instance, count);
}
WebGPU compute shaders
When you have data in a storage buffer, the next logical step is to ask how to update that data to make the particles move. That's how you would implement the agents described in Nature of Code. Interactions are described via how you would incrementally update state every frame rather than having a formula for the exact position given time.
Typically that would be done with a for loop, but with WebGPU, you can now do that with a compute shader using buildComputeShader. Compute shaders are like for loops, but instead of doing one iteration after the other, they instead run all iterations at once in parallel, something that needs special hardware—your GPU—to accomplish.
For comparison, here's some code to make a bunch of balls bounce off the walls of the canvas with no compute shaders, using a regular for loop. Afterwards, we'll show what this looks like in a compute shader.
let particles;
let count = 20;
let radius = 5;

function setup() {
  createCanvas(200, 200, WEBGL);
  particles = [];
  for (let i = 0; i < count; i++) {
    particles.push({
      position: createVector(
        (random(-1, 1) * width) / 2,
        (random(-1, 1) * height) / 2
      ),
      velocity: p5.Vector.random2D().mult(0.1),
    });
  }
  instance = buildGeometry(drawInstance);
}

function update() {
  for (let i = 0; i < count; i++) {
    let pos = particles[i].position;
    let vel = particles[i].velocity;
    pos.add(vel.copy().mult(deltaTime));

    const boundsX = width / 2 - radius
    const boundsY = height / 2 - radius;

    // Bounce off boundaries
    if (pos.x > boundsX || pos.x < -boundsX) {
      vel.x = -vel.x;
      pos.x = constrain(pos.x, -boundsX, boundsX);
    }
    if (pos.y > boundsY || pos.y < -boundsY) {
      vel.y = -vel.y;
      pos.y = constrain(pos.y, -boundsY, boundsY);
    }
  }
}

function drawInstance() {
  sphere(radius);
}

function draw() {
  update();

  background('white');
  noStroke();
  lights();
  fill('red');
  for (let i = 0; i < count; i++) {
    push();
    translate(particles[i].position);
    drawInstance();
    pop();
  }
}
Now here's the compute shader version. Rather than using just an array, we use a storage buffer. The update function now just does one iteration of the loop, using index.x to keep track of the current iteration. Drawing all the particles is also done all at once with a shader and instanceID(). You run the update by calling compute() and passing in your shader.
let updateShader;
let particles;
let particlesShader;
let instance;
let count = 20;
let radius = 5;

async function setup() {
  await createCanvas(200, 200, WEBGPU);

  const initialParticles = [];
  for (let i = 0; i < count; i++) {
    initialParticles.push({
      position: createVector(
        (random(-1, 1) * width) / 2,
        (random(-1, 1) * height) / 2,
      ),
      velocity: p5.Vector.random2D().mult(0.1),
    });
  }
  particles = createStorage(initialParticles);

  updateShader = buildComputeShader(update);
  particlesShader = buildMaterialShader(drawParticles);
  instance = buildGeometry(drawInstance)
}

function update() {
  const particleData = uniformStorage(particles);
  const i = index.x;

  let pos = particleData[i].position;
  let vel = particleData[i].velocity;
  pos += vel * deltaTime;

  const bounds = [width / 2 - radius, height / 2 - radius];

  // Bounce off boundaries
  if (pos.x > bounds.x || pos.x < -bounds.x) {
    vel.x = -vel.x;
    pos.x = clamp(pos.x, -bounds.x, bounds.x);
  }
  if (pos.y > bounds.y || pos.y < -bounds.y) {
    vel.y = -vel.y;
    pos.y = clamp(pos.y, -bounds.y, bounds.y);
  }

  particleData[i].position = pos;
  particleData[i].velocity = vel;
}

function drawParticles() {
  const particleData = uniformStorage(particles);

  worldInputs.begin();
  let i = instanceID();
  worldInputs.position.xy += particleData[i].position;
  worldInputs.end();
}

function drawInstance() {
  sphere(radius);
}

function draw() {
  compute(updateShader, count);

  background('white');
  noStroke();
  lights();
  fill('red');

  shader(particlesShader);
  model(instance, count)
}
Compute shaders get interesting because, roughly, you can run a loop on thousands of things in the time it would normally take to run just one iteration of a regular for loop. This means you can do stuff that would otherwise take a lot of algorithmic complexity to run quickly. Do you wanted to make all the balls bounce off of each other? The double-nested for loop approach can get slow in regular JavaScript. No problem in a WebGPU compute shader though. I'll also give them some different radii for the fun of it.
let updateShader;
let particles;
let particlesShader;
let instance;
let count = 40;

async function setup() {
  await createCanvas(200, 200, WEBGPU);

  const initialParticles = [];
  for (let i = 0; i < count; i++) {
    initialParticles.push({
      position: createVector(
        (random(-1, 1) * width) / 2,
        (random(-1, 1) * height) / 2,
      ),
      velocity: p5.Vector.random2D().mult(0.1),
      radius: random(4, 10)
    });
  }
  particles = createStorage(initialParticles);

  updateShader = buildComputeShader(update);
  particlesShader = buildMaterialShader(drawParticles);
  instance = buildGeometry(drawInstance)
}

function update() {
  const particleData = uniformStorage(particles);
  const i = index.x;

  let pos = particleData[i].position;
  let vel = particleData[i].velocity;
  let radius = particleData[i].radius;
  pos += vel * deltaTime;

  for (let j = 0; j < count; j++) {
    if (j != i) {
      let fromOther = pos - particleData[j].position;
      let distFromOther = length(fromOther);
      fromOther = normalize(fromOther);
      let minDistFromOther = radius + particleData[j].radius;
      if (distFromOther < minDistFromOther) {
        pos += fromOther * (minDistFromOther - distFromOther) / 2;
        particleData[j].position -= fromOther * (minDistFromOther - distFromOther) / 2;
        vel = reflect(vel, fromOther);
        particleData[j].velocity = reflect(particleData[j].velocity, -fromOther);
      }
    }
  }

  const bounds = [width / 2 - radius, height / 2 - radius];

  // Bounce off boundaries
  if (pos.x > bounds.x || pos.x < -bounds.x) {
    vel.x = -vel.x;
    pos.x = clamp(pos.x, -bounds.x, bounds.x);
  }
  if (pos.y > bounds.y || pos.y < -bounds.y) {
    vel.y = -vel.y;
    pos.y = clamp(pos.y, -bounds.y, bounds.y);
  }

  particleData[i].position = pos;
  particleData[i].velocity = vel;
}

function drawParticles() {
  const particleData = uniformStorage(particles);

  worldInputs.begin();
  let i = instanceID();
  worldInputs.position *= particleData[i].radius;
  worldInputs.position.xy += particleData[i].position;
  worldInputs.end();
}

function drawInstance() {
  sphere(1);
}

function draw() {
  compute(updateShader, count);

  background('white');
  noStroke();
  lights();
  fill('red');

  shader(particlesShader);
  model(instance, count)
}
Going back to Nature of Code, here's an implementation of the boids flocking algorithm. This is just a little window with 100 agents, but I've got a fullscreen sketch version that runs nicely with ten thousand agents on my M1 Macbook Pro. Without having to think about spatial partitioning algorithms at all!
let updateShader;
let particles;
let particleShader;
let instance;
const count = 100;
const maxDist = 30;
const desiredSeparation = 8;

let separationSlider
let alignmentSlider
let cohesionSlider

async function setup() {
  await createCanvas(200, 200, WEBGPU);
  const palette = [
    "#025760",
    "#7fd0d3",
    "#b3ead7",
    "#eff7F5",
    "#fae9c1",
    "#f8ca75",
    "#e88d44",
  ].map((c) => color(c));

  const initialParticles = [];
  for (let i = 0; i < count; i++) {
    const particleColor = random(palette);
    initialParticles.push({
      position: createVector(
        (random(-1, 1) * width) / 2,
        (random(-1, 1) * height) / 2
      ),
      velocity: p5.Vector.random2D().mult(150),
      color: [
        red(particleColor) / 255,
        green(particleColor) / 255,
        blue(particleColor) / 255,
      ],
    });
  }

  particles = createStorage(initialParticles);

  updateShader = buildComputeShader(update);
  particleShader = buildMaterialShader(drawParticle);
  instance = buildGeometry(() => {
    rotate(-PI / 2);
    cone(3, 10);
  });

  separationSlider = createSlider(0, 15, 5, 0.1)
  alignmentSlider = createSlider(0, 15, 10, 0.1)
  cohesionSlider = createSlider(0, 15, 5, 0.1)
}

function update() {
  const particleData = uniformStorage(particles);
  const n = uniformFloat(count);
  const distThreshold = uniformFloat(() => maxDist);
  const targetSeparation = uniformFloat(() => desiredSeparation);

  const kSeparation = uniformFloat(() => separationSlider.value())
  const kAlignment = uniformFloat(() => alignmentSlider.value())
  const kCohesion = uniformFloat(() => cohesionSlider.value())

  const speed = 150;
  const idx = index.x;
  const maxMag = 20;
  function limitMag(vec) {
    const len = length(vec);
    return (vec * min(len, maxMag)) / len;
  }

  let pos = particleData[idx].position;
  let vel = particleData[idx].velocity;

  let total = 0;
  let targetVel = [0, 0];
  let targetPos = [0, 0];
  let totalRepulsion = 0;
  let repulsion = [0, 0];

  for (let i = 0; i < n; i++) {
    if (i !== idx) {
      const toOtherVec = particleData[i].position - pos;
      const toOtherLen = length(toOtherVec);
      if (toOtherLen < distThreshold) {
        targetVel += particleData[i].velocity;
        targetPos += particleData[i].position;
        total++;
      }
      if (toOtherLen < targetSeparation) {
        repulsion += -toOtherVec / (toOtherLen * toOtherLen);
        totalRepulsion++;
      }
    }
  }

  let separation = [0, 0];
  let alignment = [0, 0];
  let cohesion = [0, 0];

  if (totalRepulsion > 0) {
    repulsion /= totalRepulsion;
    const repulsionVel = normalize(repulsion) * speed;
    separation = limitMag(repulsionVel - vel);
  }
  if (total > 0) {
    targetVel = normalize(targetVel) * speed;
    alignment = limitMag(targetVel - vel);

    targetPos /= total;
    const cohesionVel = normalize(targetPos - pos) * speed;
    cohesion = limitMag(cohesionVel - vel);
  }

  let acceleration = [0, 0];
  acceleration += kSeparation * separation;
  acceleration += kAlignment * alignment;
  acceleration += kCohesion * cohesion;

  vel += (acceleration * deltaTime) / 1000;
  vel = normalize(vel) * speed;
  pos += (vel * deltaTime) / 1000;

  const margin = 10;
  const bounds = [width / 2 + margin, height / 2 + margin];
  if (pos.x > bounds.x || pos.x < -bounds.x) {
    pos.x = clamp(-pos.x, -bounds.x, bounds.x);
  }
  if (pos.y > bounds.y || pos.y < -bounds.y) {
    pos.y = clamp(-pos.y, -bounds.y, bounds.y);
  }
  particleData[idx].position = pos;
  particleData[idx].velocity = vel;
}

function drawParticle() {
  const particleData = uniformStorage(particles);
  worldInputs.begin();
  const idx = instanceID();

  const vel = particleData[idx].velocity;
  const dir = normalize(vel);

  const cosA = dir.x;
  const sinA = dir.y;

  const rx = cosA * worldInputs.position.x - sinA * worldInputs.position.y;
  const ry = sinA * worldInputs.position.x + cosA * worldInputs.position.y;
  worldInputs.position.x = rx;
  worldInputs.position.y = ry;

  // Rotate normals the same way so lighting stays correct
  const nx = cosA * worldInputs.normal.x - sinA * worldInputs.normal.y;
  const ny = sinA * worldInputs.normal.x + cosA * worldInputs.normal.y;
  worldInputs.normal.x = nx;
  worldInputs.normal.y = ny;

  worldInputs.position.xy += particleData[idx].position;
  worldInputs.color.rgb = particleData[idx].color;
  worldInputs.end();
}

function draw() {
  background(0);

  compute(updateShader, count);
  noStroke();
  lights();
  shader(particleShader);
  model(instance, count);
}
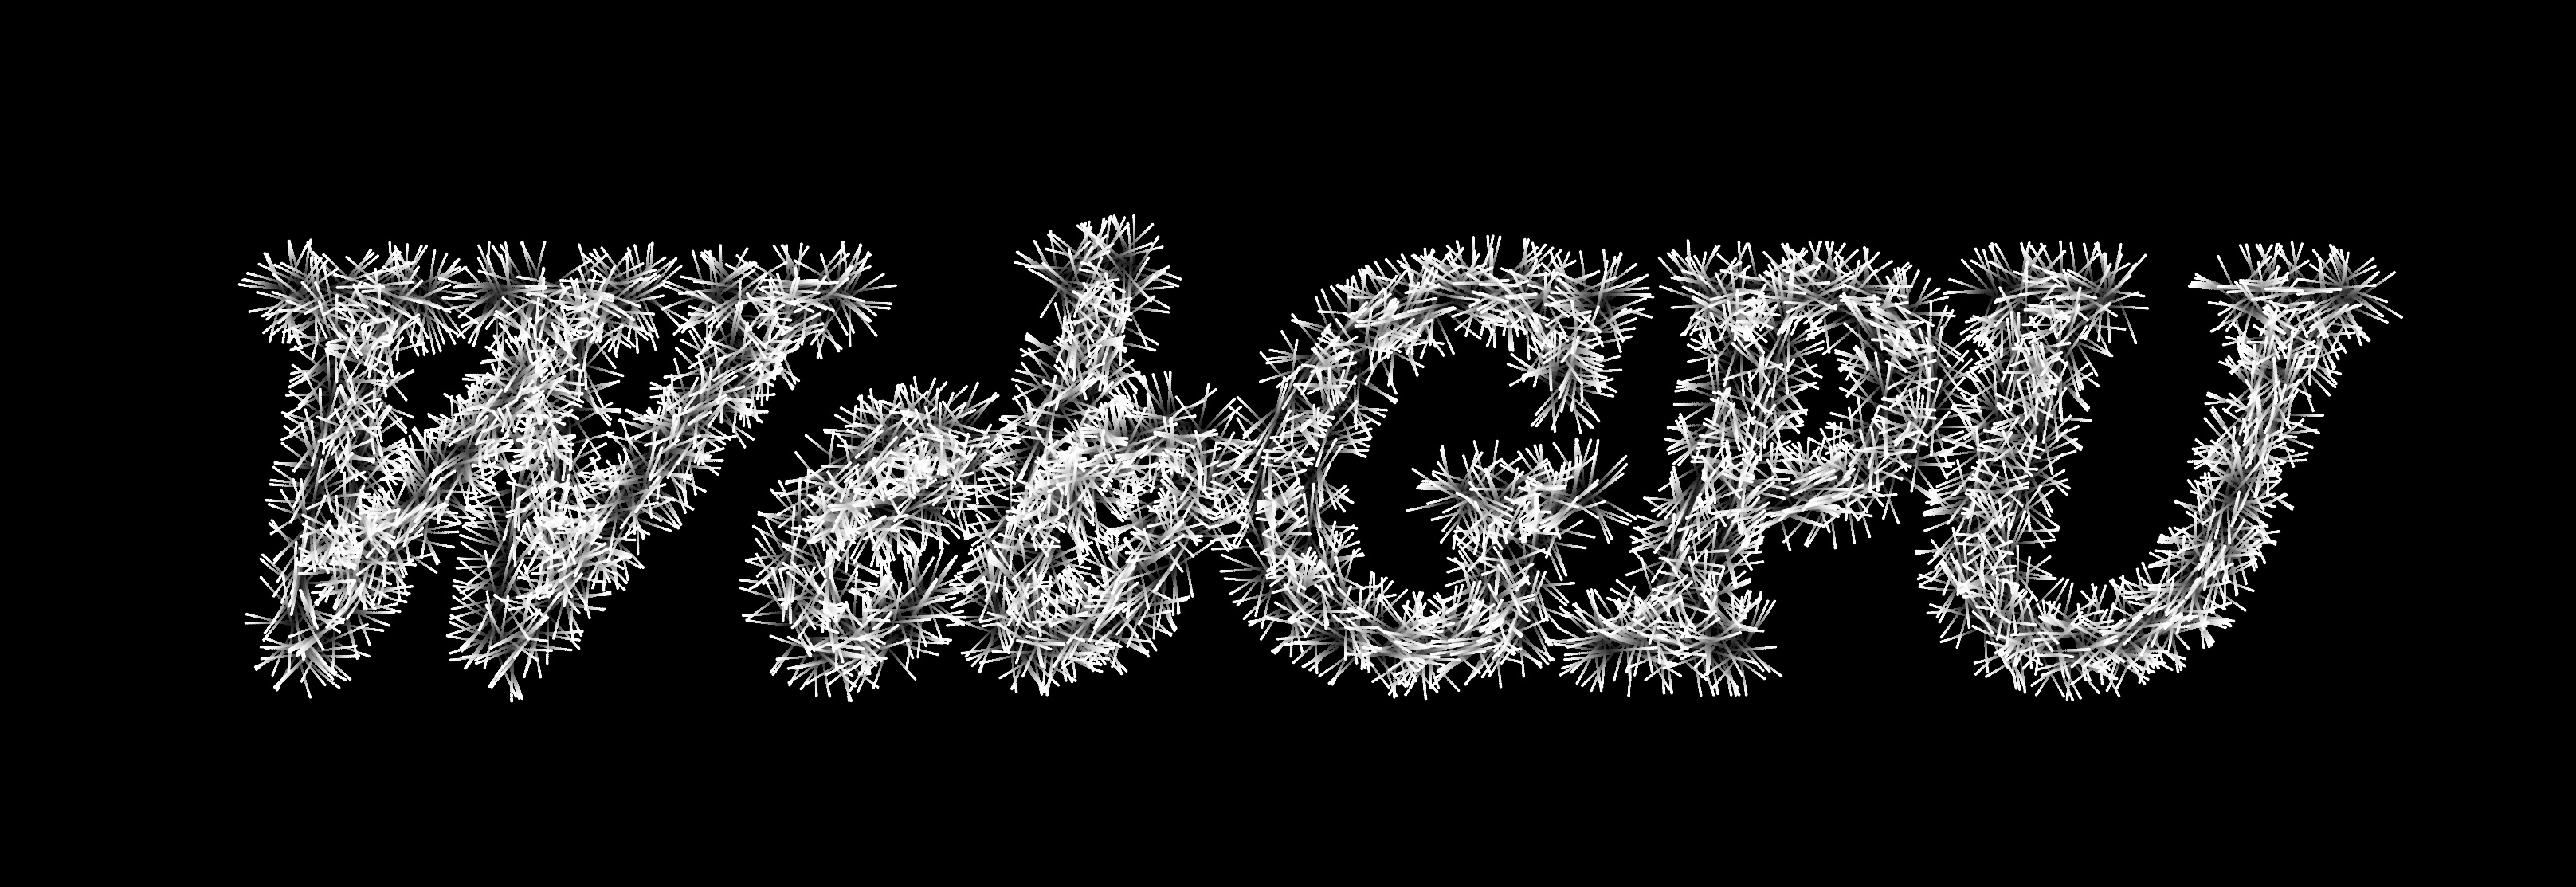
For another example, the header of this page was created using an n-body gravity simulation with points sampled from text, which you can run and inspect for yourself on OpenProcessing.
Beyond p5.js
We've built out a system that slowly exposes you to vertex shaders, fragment shaders, compute shaders, uniforms, varying variables, and textures as they become useful to you.
You can also slowly expand into platform-native shader languages, too–every block in p5.strands can also be filled in via a function in GLSL or WGSL. The same animated gradient from earlier looks like this in GLSL:
let myFilter;
function setup() {
  createCanvas(200, 200, WEBGL);
  myFilter = buildFilterShader({
    uniforms: {
      'float millis': () => millis()
    },
    'vec4 getColor': `(FilterInputs inputs, sampler2D canvasContent) {
      return mix(
        vec4(1.0, 0.0, 0.0, 1.0),
        vec4(0.0, 0.0, 1.0, 1.0),
        sin(inputs.texCoord.x * 15.0 + millis * 0.004) / 2.0 + 0.5
      );
    }`
  });
}

function draw() {
  filter(myFilter);
}
If you wanted to see how a JavaScript shader would look as a native shader, you can call .inspectHooks() on it, and it will print the native implementation of your JavaScript.
So, even when you outgrow the JS shader system, you can still hook into the p5 default shaders with native shader code, so you don't have to redo the entirety of p5's positioning and material systems. Then, of course, there are the loadShader and createShader functions you can call if you truly need to start from scratch, or want to learn how to make the whole thing yourself.
I hope that at that point, you'll have all the understanding you'll need to fearlessly jump into whatever other GPU library or hardware platform you need. You'll still have some learning to do, but by that point, you won't be faced with a mountain of new things; instead, it'll be a matter of learning how the new system handles the concepts you already know.
Try it out!
p5.strands in WebGL is already live, and compute shaders will land in the next release of p5.js, version 2.3 (but you can test it out from the build of the compute shader branch right now.) If you start exploring GPU programming with these tools, please do join the p5.js Discord server and let us know how it goes! We are hoping to continuously refine and improve the experience, and hearing from you can help shape development. Similarly, if you're hoping to try teaching with p5, we'd also love to hear from you about how we can improve things for you and your students.